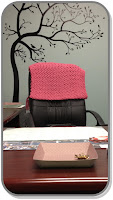
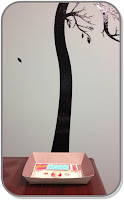
 After making and using it on my desk for a couple days I realized that regular thin card stock isn't sturdy enough for a paper tray and heavy card stock or scrapbook paper is the way to go. I dug through my paper stash (oh so many papers!) at home and came up with two sheets of heavy scrapbook paper that match my office.
 Two trays later, my desk is even more organized than before. I love having a space specifically for my keys and phone. They used to sit on the corner of my desk calendar, but were always getting in the way when I needed to spread out. Right now the second tray is a catchall tray for my half finished lunch time projects, cards, things to take home, etc.
 Everyone can use a tray somewhere. There are always notes collecting in a pile. Recipe cards sitting on the counter that haven't been put away yet. Mail that needs to be sorted.
 Try the template. It's a PDF and the directions in the article are specifically for using the printed PDF. I wanted to print it directly onto my paper to make it easier so I used the 'Print Screen' function and then cropped and edited the resulting image in Microsoft Publisher. By doing that, you can make the tray whatever size you prefer. The one slight problem with that is that you will have to trim down two of the sides. That's easily accomplished, though, once you fold the tray up, because it's very obvious what needs to be trimmed and by how much.
This was a fun, lucky project find. I'm thoroughly enjoying my paper trays. What little bits do you have laying around that would be best collected in a tray?

